How to Clean and Care for Retro Game Cartridges, Discs and Consoles
Safe, widely accepted ways to clean cartridge contacts and game discs, why blowing into carts hurts, and how to store a retro collection.
A cartridge that refuses to boot, a disc that freezes during a cutscene, a console whose power light just keeps blinking: many retro “faults” are really dirt, oxidation or poor storage. The good news is that the most common problems can be handled with simple, low-risk care. The bad news is that a lot of popular advice, from blowing into cartridges to aggressive chemical treatments, does more harm than good.
This guide sticks to widely accepted practices. It covers cleaning cartridge contacts, why blowing does not help, how archivists recommend cleaning and storing optical discs, how to keep a collection away from heat, humidity and sunlight, and why yellowed plastic and internal repairs call for caution. When in doubt, the safest choice is to do less and ask a professional.
Before You Start: Basic Safety
- Unplug everything. Disconnect consoles from power before cleaning connectors or ports.
- Isopropyl alcohol is flammable. Use it in a ventilated room, away from heat sources and open flames, and let parts dry fully before reconnecting power.
- Protect your skin and eyes when using any cleaning product, and follow the label instructions.
- Do not open CRT televisions or power supplies. They can store dangerous voltages even when unplugged.
- Keep small parts and chemicals away from children and pets.
Cleaning Cartridge Contacts
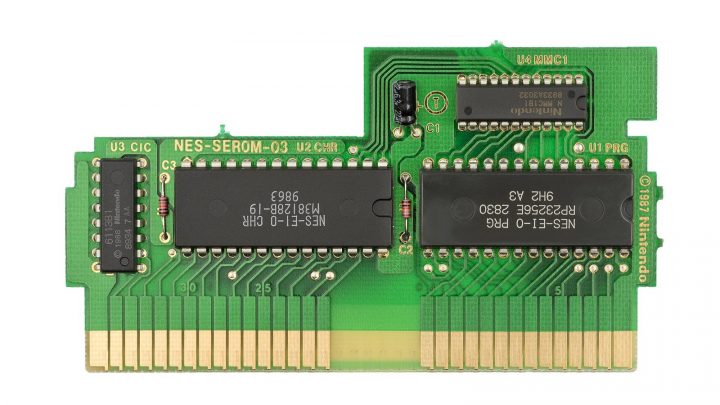
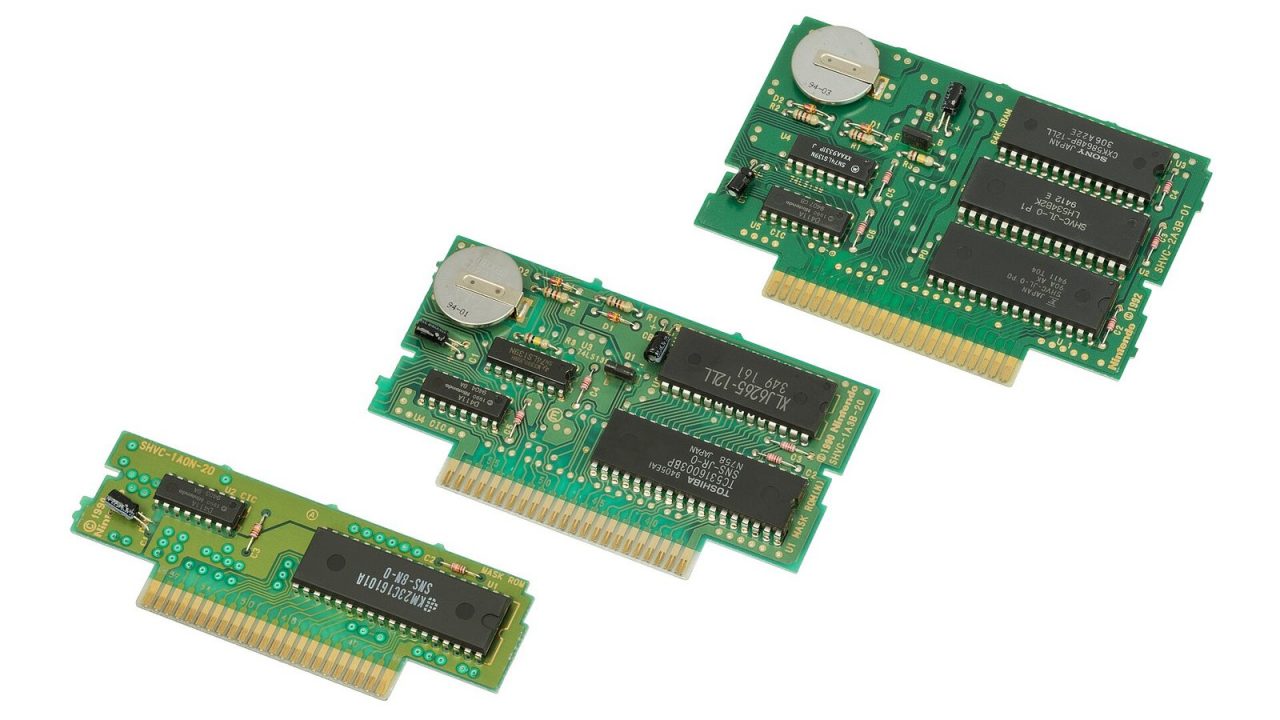
Cartridges connect to consoles through a row of metal contacts on a circuit board edge. Over decades, those contacts collect dust, grime and oxidation, which interrupts the electrical connection. Symptoms include a blank or garbled screen, graphical glitches, or a game that works only after several attempts.
The most widely recommended cleaning method is simple:
- Inspect first. Look at the contacts under good light. Light dullness or grime is normal; heavy green or black corrosion or physical damage may need more than cleaning.
- Use high-percentage isopropyl alcohol. It cleans effectively and evaporates quickly. Higher concentrations contain less water, which is what you want around electronics.
- Apply with a cotton swab. Lightly dampen, not soak, a swab and rub it along the contacts on both sides of the board. Repeat with fresh swabs until they come away clean.
- Let it dry completely before inserting the cartridge into a console.
Many collectors also use a thin cloth or swab wrapped around a plastic card to reach contacts inside narrow cartridge shells. Avoid anything abrasive, such as sandpaper or rough erasers, unless you have specific experience, because abrasives can strip thin plating from the contacts and make future corrosion worse.
Some cartridges use security screws that need a special bit to open. Opening a shell gives better access to the board, but it is optional; a careful swab cleaning through the opening is enough for most games. If you do open a cartridge, be careful with the board, and note that older battery-backed games contain a small coin cell that should not be shorted or bent.
Why You Shouldn’t Blow Into Cartridges
Blowing into a cartridge is one of the most familiar rituals in gaming. For many NES owners it seemed to work: blow, reinsert, and the game booted. But the success was usually coincidental. Simply removing and reinserting a cartridge reseats the connection, and that alone can fix a marginal contact.
Breath contains moisture and saliva particles. Over time, that moisture encourages the tarnishing and corrosion that caused the connection problem in the first place. Reference accounts of the NES note that the habit actually sped up tarnishing on cartridge contacts. If a cartridge needs attention, clean it with alcohol instead.
The NES Connector and the Blinking Power Light
The front-loading NES deserves special mention, because its design made connection problems especially common. Covered in our history of the NES, its VCR-style mechanism has the cartridge pushed down into a connector whose pins bend slightly each time. Reference sources describe how frequent insertion wears the connector’s springs and how the contacts are prone to dirt and tarnish.
When the connection is poor, the NES’s lockout chip cannot communicate properly with the game and resets the system about once per second. That produces the famous blinking red power light. Cleaning the game is the first step. If many clean games still fail, the console’s internal connector may be worn. Replacement connectors exist, but installing one involves opening the console; if you are not comfortable working inside electronics, leave it to a repair professional.
Console slots in general benefit from occasional attention. A cleaning cartridge or a cloth-wrapped card lightly dampened with isopropyl alcohol can clean slot contacts on many systems, but never pour liquid into a slot, and always let it dry before powering on.
Cleaning and Handling Game Discs
Optical discs, from CD-ROM games to DVDs, are more fragile than they look. Archivists have produced detailed guidance on caring for them. The Council on Library and Information Resources (CLIR) and the US National Institute of Standards and Technology published Care and Handling of CDs and DVDs, a guide for librarians and archivists, and its recommendations translate well to game collections:
- Clean only when needed. If a disc plays fine, leave it alone.
- Try a dry, soft cloth first, such as soft cotton or chamois. The guide advises against paper products, including lens paper, and anything abrasive.
- Wipe from the center straight out to the edge. Do not wipe in circles around the disc.
- Use mild solvents only. For stubborn marks, isopropyl alcohol or methanol is acceptable because it evaporates quickly. Harsh solvents such as acetone and benzene can dissolve the polycarbonate and destroy the disc.
- Heavy dirt: rinse with water first, then use a water-based detergent made for optical discs.
- Handle by the edges and the center hole, and never bend a disc when taking it out of its case. Press the hub to release it.
Resurfacing machines and polishing kits exist for scratched discs, but they remove material. They can help a disc that will not play, yet they are not something to use on a disc that already works. For valuable or rare discs, consider a professional service or simply accept minor cosmetic scratches.
Be particularly careful with the label side. On standard CDs, the data layer sits just beneath the label, so scratches or pressure on the top can be more damaging than those on the shiny side. Never write on a game disc with a ballpoint pen or fine-tipped marker.
Storing a Retro Collection
Cleaning fixes problems; storage prevents them. The same archival guide recommends keeping discs cool, relatively dry and out of direct sunlight, avoiding sudden temperature changes, keeping each disc in its own case, and storing cases upright like books. Long-term horizontal stacking, especially in warm conditions, can cause discs to bow.
Similar principles apply to cartridges, consoles, boxes and manuals:
- Avoid heat. Attics, garages and cars can get hot enough to warp plastic, damage labels and stress electronics.
- Avoid humidity. Damp basements encourage corrosion on contacts and mold on cardboard and paper. A stable, indoor room is best.
- Avoid sunlight. Ultraviolet light fades labels and box art and contributes to yellowing plastic.
- Protect boxes. Cardboard boxes crush easily; clear protective cases help, and they also keep dust off.
- Acclimate items. If something comes in from a very cold place, let it reach room temperature before use so condensation does not form inside.
If you are just building a collection, factoring in storage space and conditions early saves trouble later. Our beginner’s guide to collecting covers planning a collection, and good record-keeping also helps you spot suspicious items, as explained in our guide to fake and reproduction games.
Yellowed Plastic: Proceed With Caution
Many consoles and computers from the 1980s and 1990s have turned yellow or brownish. ABS plastic yellows with exposure to ultraviolet light and heat, a process of photo-oxidation that breaks down the polymer and can also make it more brittle.
Collectors have developed hydrogen peroxide-based whitening methods, often called “Retr0bright,” which became popular among vintage computing hobbyists in the late 2000s. The results can look impressive, but reference sources describe significant caveats: the long-term effects are uncertain, yellowing has been reported to return, and there are concerns the process can weaken plastic or produce streaks and blotches. One widely cited long-term test on a treated console case found that treated areas later yellowed more than untreated ones.
Given those uncertainties and the hazards of handling concentrated peroxide, the cautious approach is to accept yellowing on valuable or rare items, store hardware away from sunlight to slow further change, and leave whitening to experienced restorers if you decide it is worth the risk.
When to Call a Professional
Cleaning contacts and discs is low risk. Some jobs are not. Consider a reputable repair specialist for:
- Replacing internal connectors or worn slot pins
- Replacing save batteries, which normally requires soldering
- Recapping, meaning replacing aging capacitors on circuit boards
- Any work on power supplies or CRT displays
- Video output modifications, which involve soldering inside the console (see our guide on connecting retro consoles to modern TVs for why people want them)
- Restoring rare or high-value items, where a mistake is costly
A Simple Maintenance Routine
You do not need a workshop to keep a collection healthy. A practical routine looks like this:
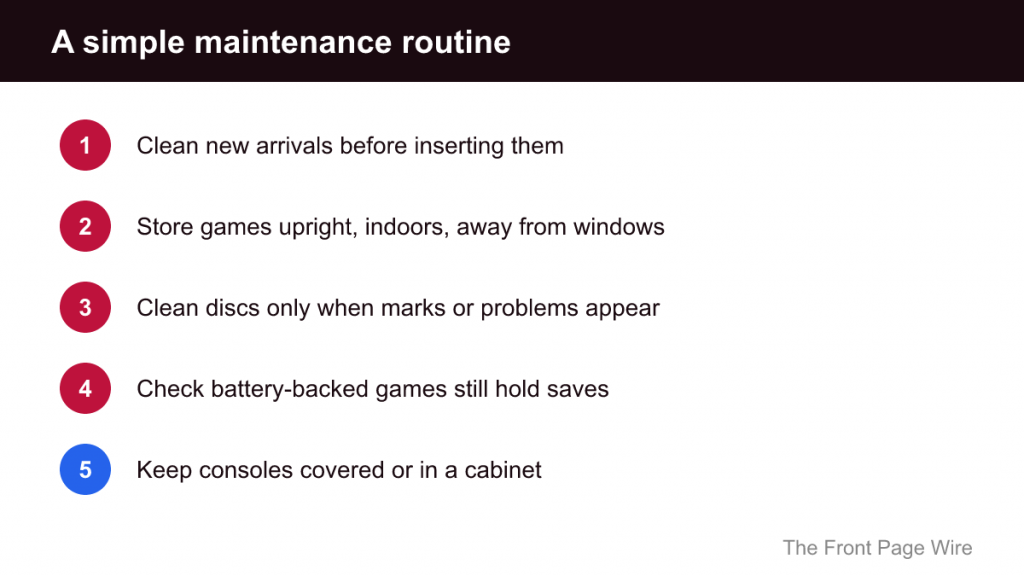
- Clean new arrivals before inserting them into your consoles, so dirt is not transferred to your hardware.
- Store games upright in a stable indoor room, away from windows.
- Clean discs only when they show visible marks or play problems.
- Check battery-backed games occasionally to see whether they still hold saves.
- Keep consoles covered or in a cabinet to reduce dust.
Retro hardware has already survived decades. With gentle cleaning, sensible storage and the patience to leave risky work to professionals, it can last decades more.